Here they are! I am
so happy to say that my iris folding book is
done!! So here is a picture of my first five books ready to ship.
Here are the patterns included:
• Heart

• Double Heart
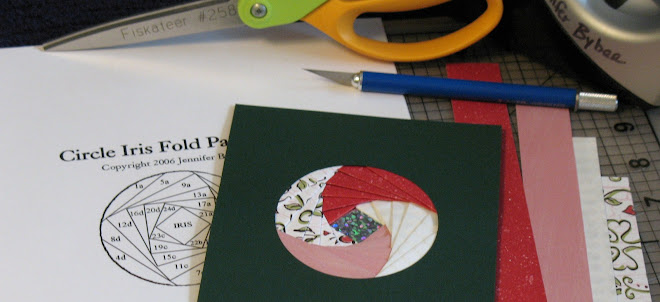
• Circle
• Apple
• Football Helmet and Ball
• Baby Rattle
• Birdhouse
• Maple Leaf
• Frames
• House
• School House
• Tudor Home
• Lion
• Giraffe
• Horse
• Eagle
• Labrador Retriever
The book also includes illustrated instructions on how to iris fold so if you've never iris folded but always wanted to try, here is your chance.
Because I am so happy to have these done, I am going to RAK (random act of kindness) one of my samples to someone who comments here before next Monday at 9 am MST. Mind you, the sample is far from perfect because I ran low on ink as I was printing it up. The pictures aren't as sharp, but the patterns are all there and its
free! So please leave a comment to enter the drawing and I'll announce the winner Monday.
So how do you order a book if you don't win the RAK? Just
click here to email me and we'll make arrangements for payment and shipping. The cost is $10 plus the cost of shipping and the cardboard mailer. I prefer payments by Paypal or US money orders. Also, I'm curious how many people would be interested in a CD instead for $10 that includes everything in the book or possibly a download? I haven't sold downloads before so that would be something new to learn but if there is interest I will gladly look into it.
Oh, and because I am so happy, I am going to post a free pattern. Remember, it is copyrighted, so if you want to share, please share my blog address instead. Thanks again for everyone's support!


